A fun twist on usual cookies, which look very vibrant and work well for kids parties. An ombre version will make this more sophisticated for a special occasion.

I often like to challenge myself with baking things that are new and adventurous.
I spent the weekend baking these rainbow cookies, which are a bit time consuming to make, but still lots of fun.

They will team up well with my rainbow cake for a birthday celebration.
If you make this recipe, please share it with me by tagging me on Instagram @adventureswithsugar or on Facebook at Adventures with Sugar.

This recipe is adapted from Eugenie’s Kitchen. The design is inspired by her heart rainbow cookies. If you want to get a sense of how these are made, she has a nice Youtube video. I have altered the proportion of ingredients to be able to cut out a larger star on the outside.
RAINBOW COOKIES
- 280g salted butter, room temperature
- 250g icing sugar, sifted
- 1/4 tsp almond extract
- 1 1/4 tsp vanilla extract
- 5 egg yolks
- 520g cake flour
- food colour of choice, six colours
- sprinkles
- 1 egg white mixed with a teaspoon of water
METHOD
- Cream the butter for about a minute.
- Add in the icing sugar and continue to mix.
- Add in the egg yolks.
- Add in the almond extract and vanilla extract.
- Finally add in the flour and continue to mix. The dough may not initially come together and needs to be kneaded for a minute until it forms a soft dough.
- Once your cookies are assembled as below, bake at 180 degrees Celcius for 12 minutes. Make sure that your baking tray is lined with baking paper.
CONSTRUCTION
- Once you have a smooth dough, remove three fifths of the dough and set aside.
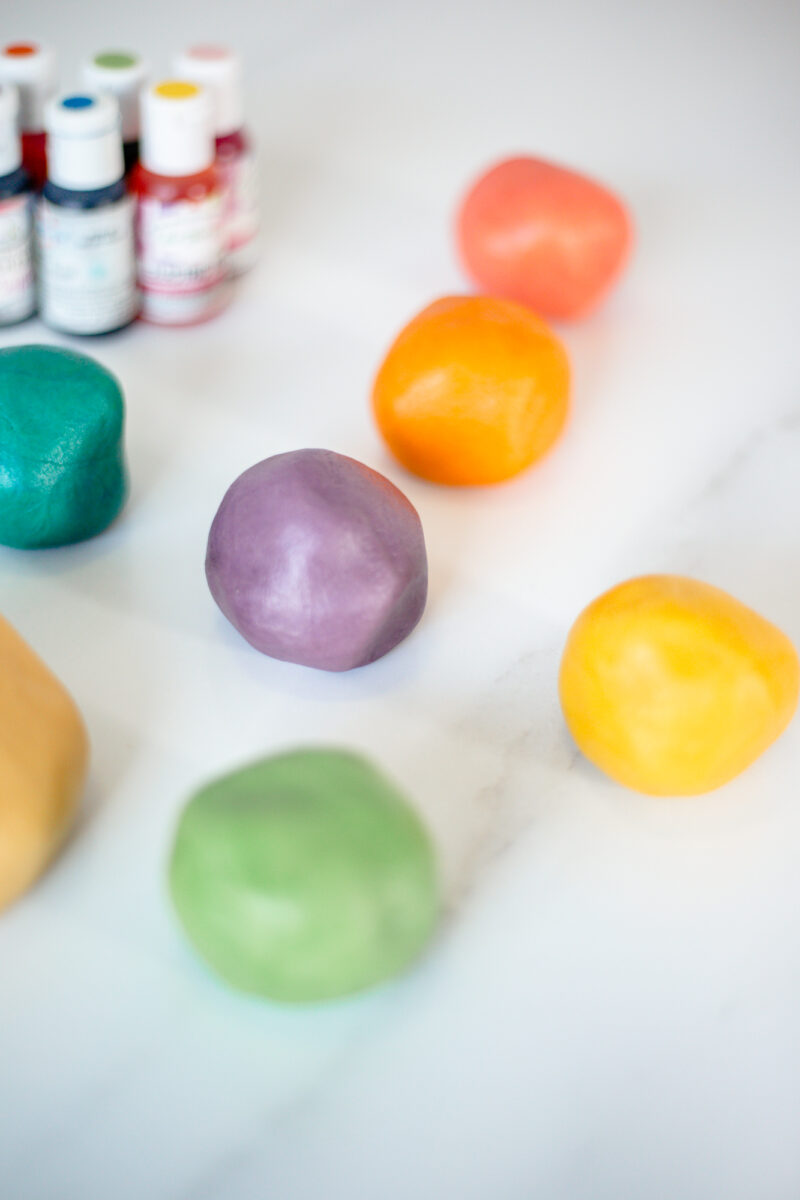
- Split the remaining two fifths of dough into six equal portions and use the gel colour to tint each portion to the desired colour.

- Wrap each colour, as well as the remaining uncoloured dough you initially removed, in cling wrap and set in the fridge for an hour.
- The next step is important. Measure the height of your cookie cutter. Mine was 3cm, so you want to ensure that the stacked layers of dough are slightly more than 3cm.
- Roll out each colour of dough into a rectangle. This is easiest to do by placing cling wrap on the dough and rolling to prevent sticking. The thickness is based on the height of your cookie cutter. For example, my cookie cutter was 3cm, so I rolled each of the dough to just over 0.5cm each, to get an even distribution of colours, and make sure the cutter fitted on the dough surface area.

- Glue each of the rolled sheets to one another with the egg white. The gently roll to make sure all layers are grouped together. Place in the fridge to rest for an hour.
- Then cut the colourful striped block down the width of the rectangle and flip it on its side to expose all the different layers. Use your cookie cutter to cut out little flowers.

- Glue the flowers together with egg white to form a long chain. Set in the fridge to chill for an hour.
- Then take the colourful flower and add the remaining uncoloured dough around it to form a cylinder around the coloured flower. Make sure this cylinder you have created is big enough so that the second bigger flower cutter fits on it.
- Place in the fridge to chill for an hour.
- Remove the dough from the fridge and slice into round discs of cookies. then using your larger flower cutter, for the bigger flower.

- Paint the sides of each flower with some egg white and then add the sprinkles to the sides.
- Place in the fridge for 30 minutes to set, then you are ready to bake. Phew!
Recipe by adventureswithsugar.com


No Comments