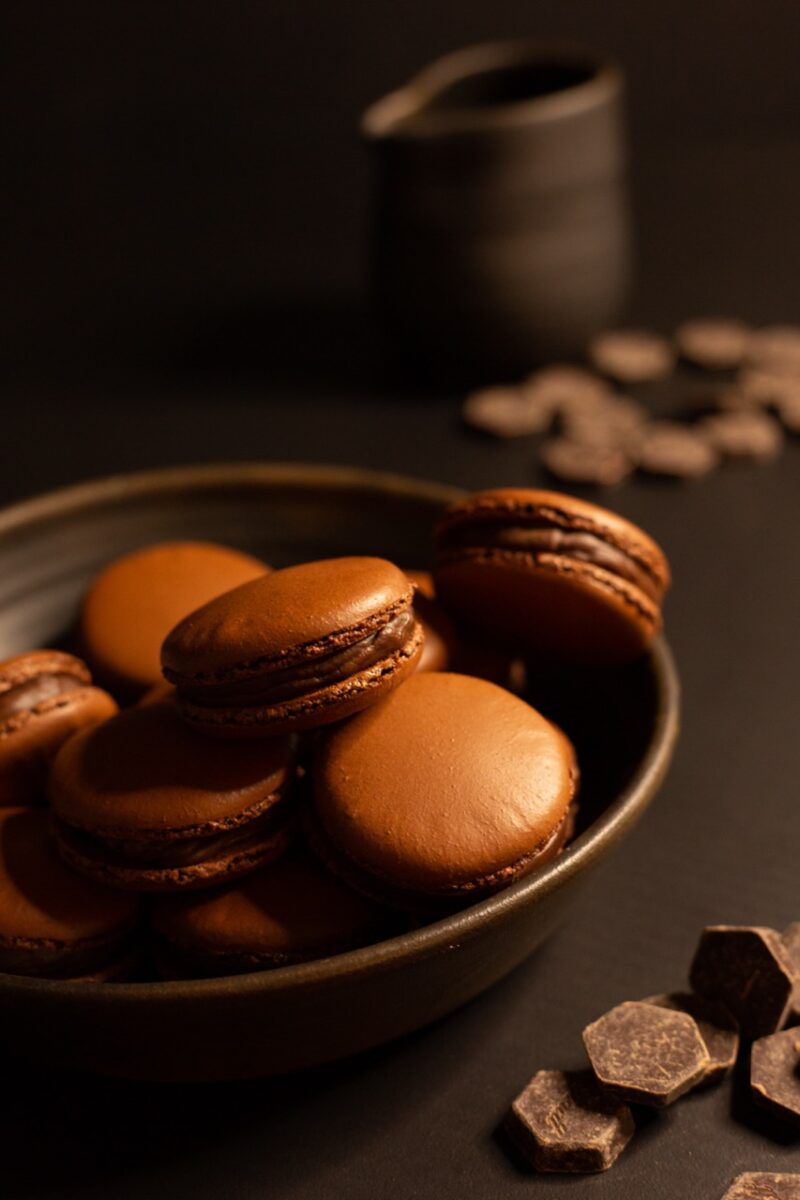
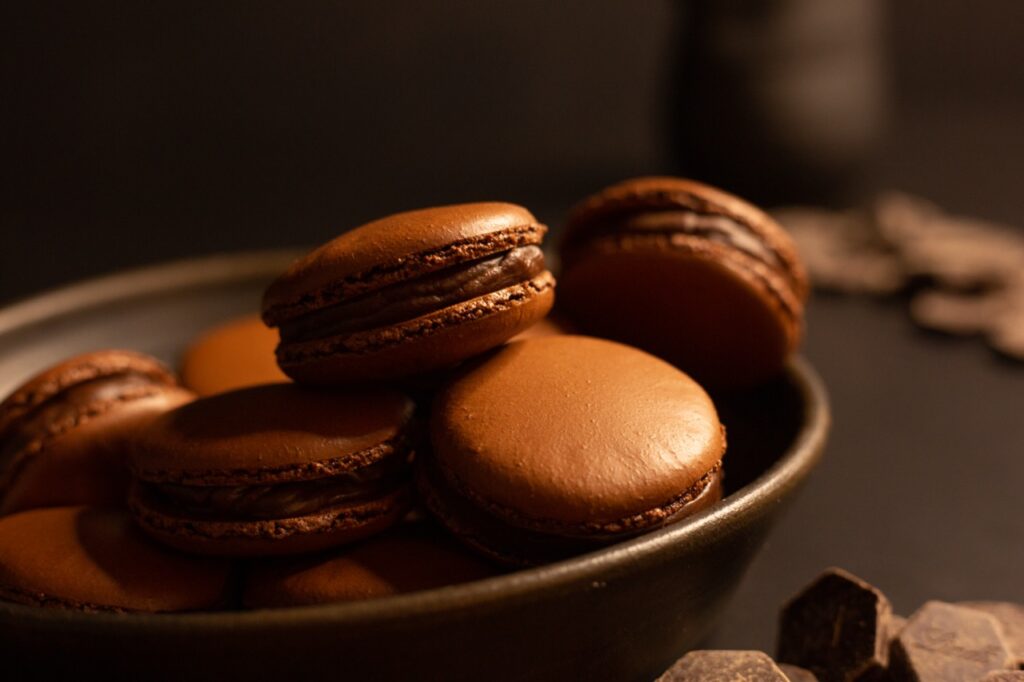
A chocolatey, chewy and slightly crisp macaron shell surrounding an indulgent chocolate ganache.

Macarons are notoriously tricky to perfect. While my recipe still requires some practice, it’s a lot more reliable than most and should have you churning out these popular pastries in no time. It actually uses an Italian macaron making method, as opposed to the more popular French – pouring hot sugar syrup into the foamy egg whites. Whilst it requires a good sugar thermometer, investing in that is more sensible than wasting lots of ingredients on an unreliable recipe.
A good macaron needs a strong, distinctive flavour and chocolate is eternally popular – so this is a great recipe to have in your repertoire, and one that’s sure to win people over. The creamy milk chocolate ganache pairs really well with the crispy, chewy macaron shell and the combination is decadent and delicious.
The recipe is based off my Blueberry Cheesecake Macaron Recipe, where I share lots of tips for troubleshooting any macaron challenges you may have. Don’t be intimated – just give it a try. Remember, practice makes perfect!
If you make this recipe, please share it with me by tagging me on Instagram @adventureswithsugar or on Facebook at Adventures with Sugar.


FOR THE GANACHE
- 200g milk chocolate, chopped into small pieces
- 200g whipping cream
- 30g butter, at room temperature
METHOD
- Heat the whipping cream until bubbles start to form around the sides, but it’s not yet boiling.
- Pour the hot cream over the chocolate pieces, and let it rest for 1 minute.
- Add the butter and stir to combine.
- Set aside for a few hours to cool and firm up.
FOR THE MACARON SHELLS
- 190g icing sugar
- 190g fine almond flour
- 20g cocoa powder
- 140g egg whites (from approximately 5 large eggs), which will be split into two batches
- 180g caster sugar
- 57ml water
METHOD
- Microwave the egg whites for 20 seconds to age them, set aside to come to room temperature. (Some recipes call for ageing the egg white for a few days, but I never do this and the recipe turns out fine).
- Line 3 baking trays with baking paper. If you want, you can trace out circles so that the shells are the same size. Make sure to turn the greaseproof paper over, to avoid the ink from the traces transferring to the macarons.
- Sift the almond flour, icing sugar and cocoa powder into a bowl, then pulse in a food processor for about 15 pulses to make sure it is super fine. (The food processor is an optional step to ensure that there are no large lumps of almonds, just as insurance to securing smooth tops).
- Divide the egg whites into two portions, of 70g each.
- Add 70g of egg whites into the bowl. Thoroughly mix together with the almond flour, icing sugar and cocoa to form a paste. Feel free to be aggressive with your mixing. It may initially feel like the liquid is too little for the dry ingredients, but it will all come together in the end. When combined, set aside.
- Place the other 70g of egg whites in the mixing bowl of your stand mixer, with the whisk attachment fitted.
- Place the caster sugar and water in a saucepan and heat on medium-high heat. Let the sugar dissolve into the water. Do not stir the mixture, as it may cause crystallisation. If you must, give the pan a gentle swirl to mix the water and sugar together. The aim is to get the syrup to 116˚C.
- When the mixture reaches 100˚C, start to whip the egg whites. You want to whip them until they are foamy and beginning to form very soft peaks.
- Once your syrup has come up to 116˚C, take it off the heat and slowly begin streaming it into the foamy egg whites. You want to gently pour the syrup down the sides of the bowl to avoid any clumps of syrup collecting at the bottom.
- If you touch the sides of the bowl, once all the syrup is in, it will still be quite hot. You want to continue to whip the mixture for a good 2 – 4 minutes until the side of the bowl begins too cool and that when you lift you whisk out of the meringue, it will have a medium peak, with a slight bend – what is referred to as the ‘bird beak’ peak.
- Fold one third of the meringue into your flour mixture. You do not have to be gentle here, the aim is to use this first batch of meringue to loosen the mixture.
- Then begin to gently fold the rest of the meringue into the batter. The mixture is ready when it falls in a continuous ribbon off your spatula, and lingers on the batter for about 5 seconds, before disappearing into the batter.
- Spoon the mixture into a piping bag, fitted with a round nozzle. Holding the piping bag straight up (not at an angle) and pipe the macarons onto the tray, being guided by the template. Do not pipe it to the edge of the traced template, as the macarons will spread once they settle.
- Once the tray is full, give it a few gentle taps to release any air bubbles and then set aside for the macarons to form a skin. This could take 30 minutes to 1 hour, depending on your climate. You know the macaron is ready when you touch it lightly and the top feels smooth and the batter doesn’t stick to your finger.
- When ready to bake, place your oven rack on the second lowest shelf and set your oven to 150˚C.
- Bake each tray for around 14 – 17 minutes, be very careful not to overbake as the shells will be too dry and hard. I recommend checking them at 14 minutes. If you try and lift a shell off the tray and the top of the shell comes apart easily, with the foot still stuck to the tray, the macarons have not dried out. If it feels difficult to lift the macaron off the tray, but it is not coming apart as described earlier, then it is likely done. Remove it from the oven and let it cool on the tray, as this will help dry it out further.
- If the shells are still sticking to the tray, return the shells to a warm, around 130˚C (but turned off) oven, with the door slightly ajar to dry further.

Recipe by adventureswithsugar.com


No Comments