Inspired off the Malaysian Sarawak Layer Cake, this recipe is a labour of love, but oh so worth it

I did virtually no recipe testing this past weekend. I often love creating new recipes, having to go through a few iterations before I find the perfect recipe. Whilst I love being able to spot a problem and fix it, sometimes I just want to bake something that I know is going to work out.
This was the brief for this weekend’s baking …. well, kinda! I first heard of the Malaysian Sarawak layer cake (also known as kek lapis Sarawak) from the Great British Bakeoff. I managed to find a recipe used on the bakeoff here but the recipe required a total of 32 egg yolks, condensed milk and sixteen steps to work through!!! Whist under certain circumstances I would rise to the challenge, this weekend was not one of those weekends.
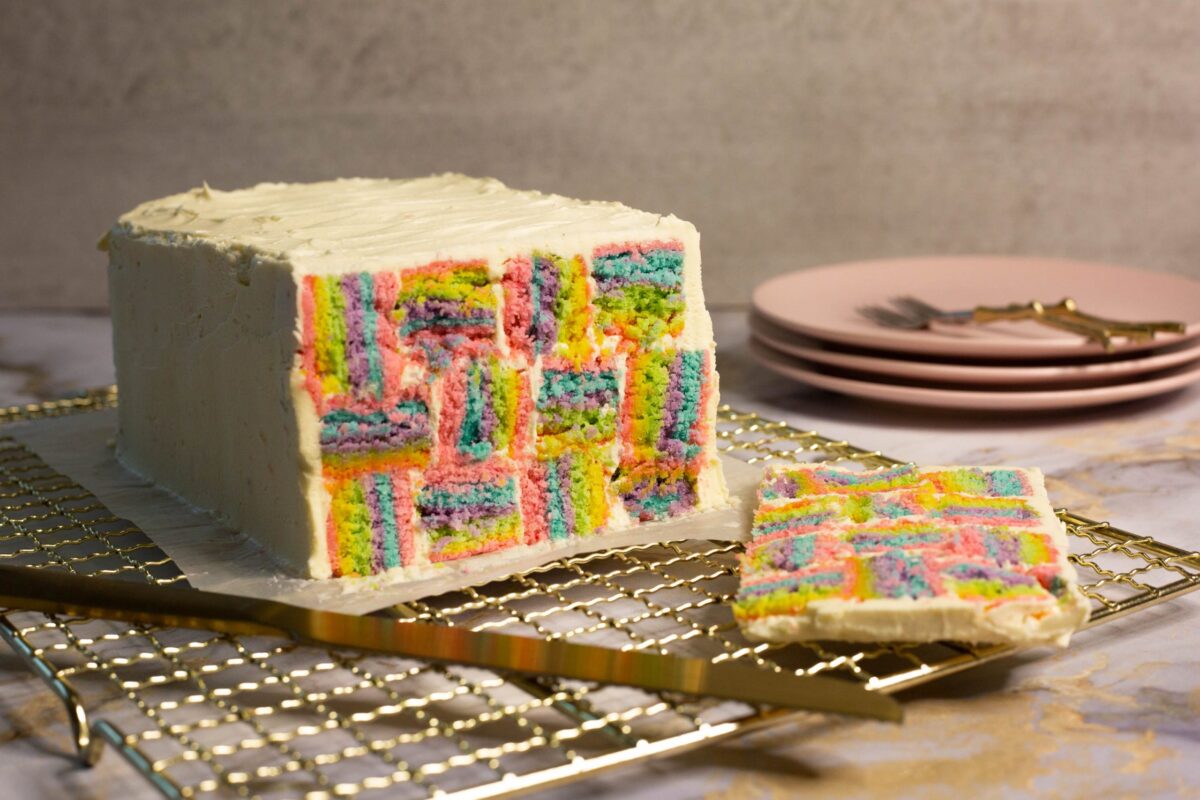
A Sarawak Layer Cake requires you to colour your cake batter in different colours and then grill each colour until just set. The cake goes in an out of the oven as you grill each layer. You then cut it up and reassemble them into intricate even layers, which reveal a pattern when sliced. Good lord, that sounds like a lot of work!
I did find a really helpful blog post by Buttermilk by Sam where she also gave this cake a go, albiet using a more approachable recipe – so it can be done with other sponges! Sam recommends using a white cake recipe to get the best colours on your layers (a white cake is characterised by using only egg white in the batter, no yolks). The only white cake recipe I had on hand was my coconut sheet cake recipe, which was perfect as this cake is baked in a sheet pan. Also, I thought the flavours of coconut would pay homage to the Malaysian inspiration of this cake.
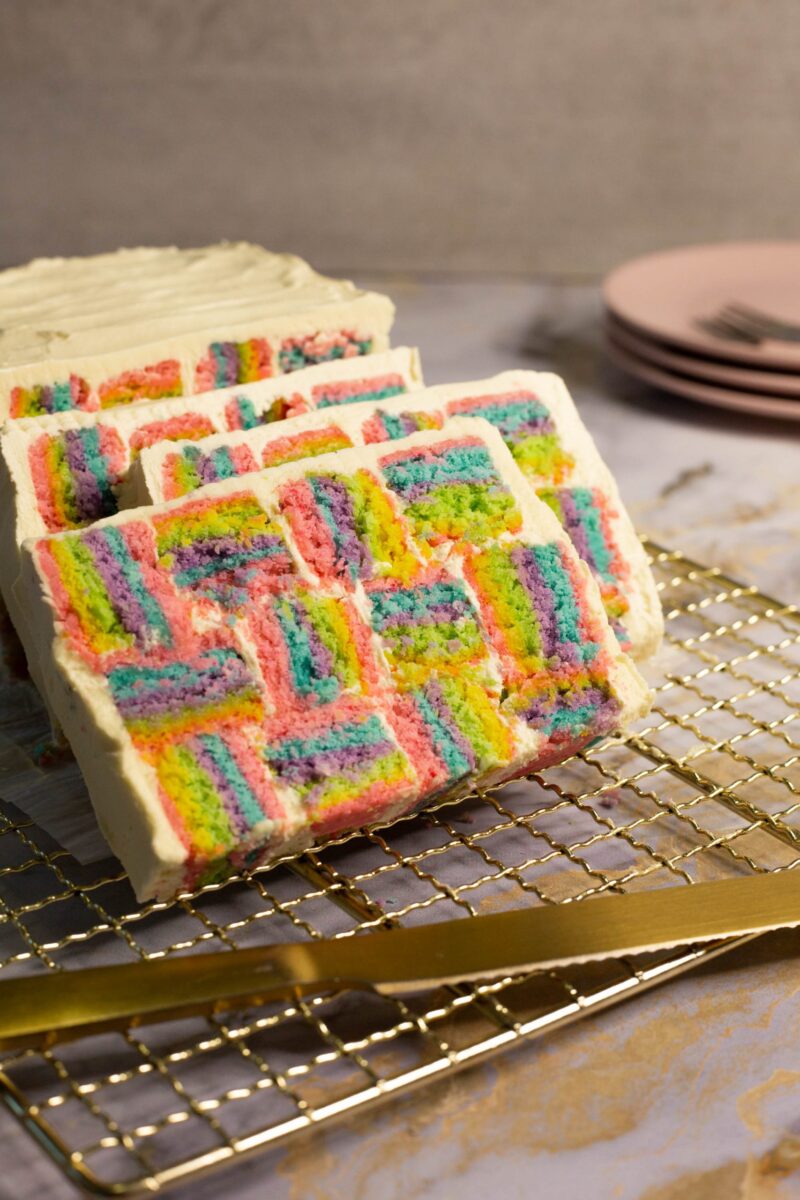
In retrospect, adding dessicated coconut meant that the slices did not give as a clean a cut as my perfectionism would have liked, but it still tasted great and looked super fun! I also loved how the little cubed design almost felt like blocks of coconut ice when I ate them.
The cake really is not as intimidating as it looks, it just requires the ever important and precious ingredient when baking, patience 🙂
WHAT SHOULD I KNOW ABOUT MAKING THIS CAKE?
- Each cake layer is grilled to set the layer. So make sure your oven is set to grill and not bake. ie, it is just the top element which should be heating, so that the cake receives heat from only above.
- I place my rack on the middle shelf when I bake.
- Each layer is done when it is firm to the touch. This took me about 12 minutes per layer, but will depend on your oven temperature. It is probably safest to check the first layer regularly, than sticking to an exact time.
- Before slicing the cake, I suggest that you place it in the fridge to firm up so that you get neat, clean slices.
- Make sure your buttercream is at the correct spreading consistency, and not too think, or it could tear the cake strips. They are quite delicate. I use milk to thin out my buttercream.
- If you are not feeling that adventurous, this recipe makes a delicious sheet cake as well.
If you make this recipe, please share it with me by tagging me on Instagram @adventureswithsugar or on Facebook at Adventures with Sugar.

COCONUT SHEET CAKE
- 120g butter, room temperature
- 120g coconut oil
- 350g caster sugar
- 2 teaspoons vanilla essence
- 5 large egg whites
- 380g cake flour
- 40g cornflour
- 4 teaspoons baking powder
- 1/2 teaspoon fine salt
- 350ml coconut milk
- 70g desiccated coconut
- pink, blue, yellow, green and purple gel food colour
METHOD
- Grease and line a 23cm (width) by 33cm (length) by 5cm (height) rectangular tin. Allow for some overhang of the baking paper onto the length of the tin, so it is easy to lift out the cake.
- Set the oven to grill, with the temperature at 180 degrees Celcius and the rack positioned in the middle of the oven.
- In a bowl, sift the flour, cornflour, baking powder and salt and set aside.
- Cream the butter, coconut oil and sugar until light and fluffy, about 8 minutes.
- Add in the vanilla essence and continue to mix.
- Add in the egg whites, one at a time, only adding the next one in after the previous has been fully combined.
- Begin to add the sifted dry ingredients to the egg and sugar mixture, alternating with the coconut milk. Begin and end with the dry ingredients.
- Fold in the desiccated coconut.
- Divide the batter equally into six bowls, colour each one a different colour, but colour the last bowl pink. So you will have to bowls of pink to start and end the layers with. I had roughly 260g of batter per bowl.
- Pour one of the layers into your cake tin and “grill” for 12 minutes, or until the top of the cake feels firm and set.
- Remove from the oven and pour on the next colour of batter. Repeat the process until all the colours have been grilled.
- Remove the cake from the oven and pre-heat the oven to 180 degrees Celcius (you want to use the normal bake function as you do now).
- Cover the top of the cake in foil and bake for 10 minutes, until the cake is baked.
- Set aside to cool completely.
VANILLA BUTTERCREAM
- 230g butter, softened
- 450g icing sugar, sifted
- 2 – 3 tbs of whipping cream or full fat milk
- 1.5 tsp vanilla essence (unless this is colourless, it will tint your buttercream a bit)
METHOD
- Cream the butter well for at least 5 minutes to get it volumised. It will be fluffy and whitened. This is really important to do.
- Add in half the icing sugar and beat for 3 minutes.
- Then add in the remaining icing sugar and beat for another five minutes.
- Then, mix the milk with the vanilla and add in a tablespoon at a time until you get the right consistency, mixing for another minute.
TO ASSEMBLE
- I suggest putting the sheet cake in the fridge to chill to get neater slices.
- For precise squares, measure the height of the cake. My height, for example was 2.5cm.
- Measure 2.5cm down the length of the cake and slice down the length to get around 12 strips.
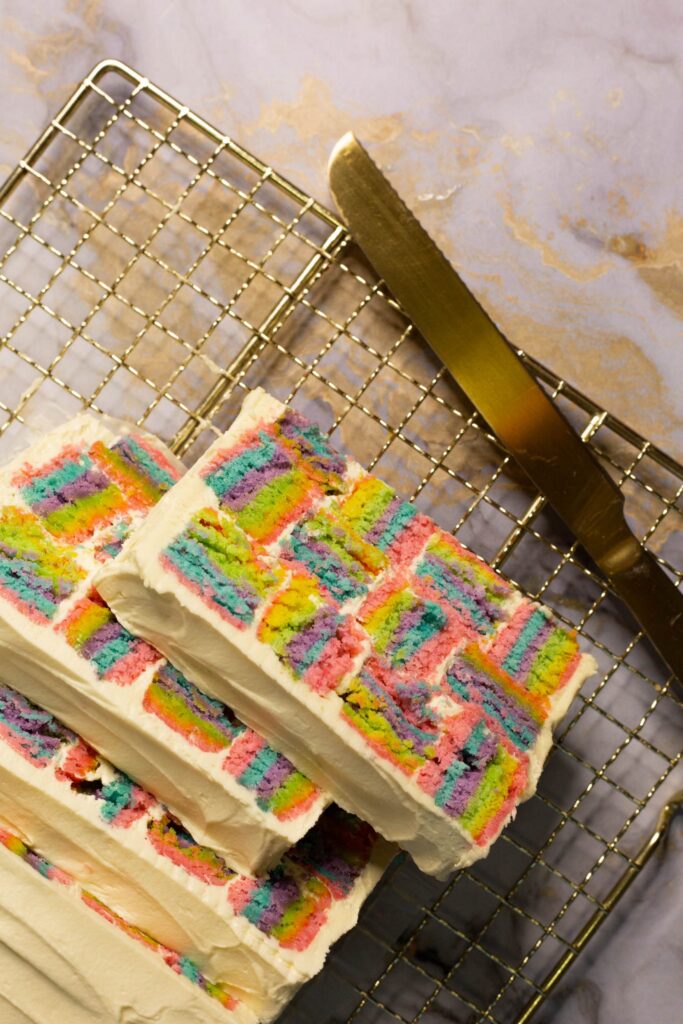
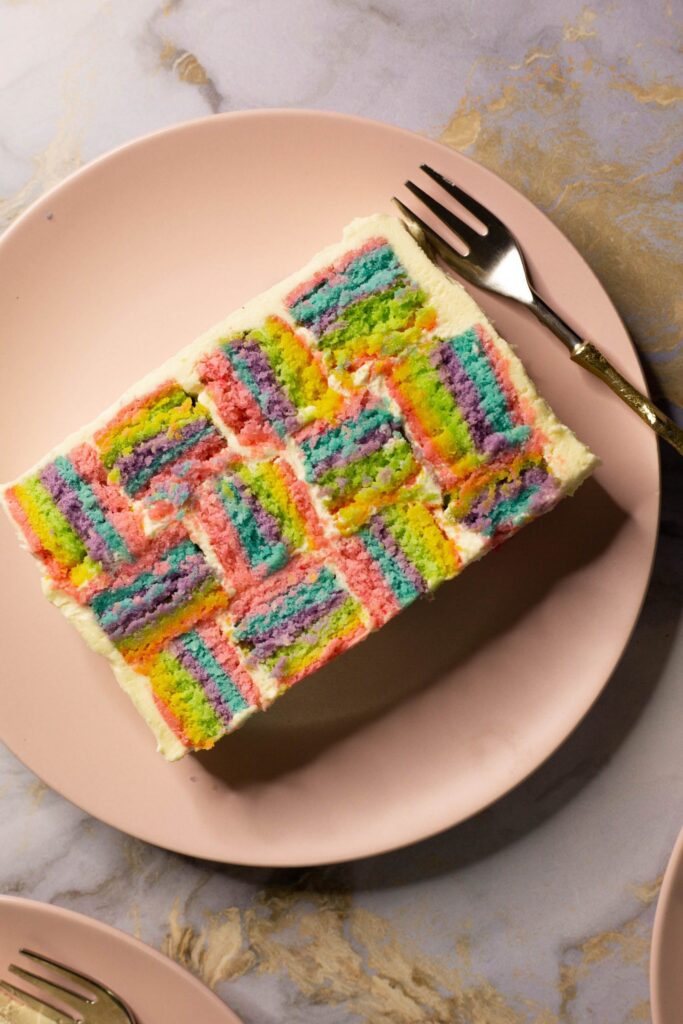
- Use the buttercream as glue. Apply the buttercream to the top and side of a strip, then place another strip next to it. For a pretty design, alternate the strips so that the colours run in different directions.
- Frost the outside of the cake with the remaining buttercream.
- Place in the fridge for about 30 minutes before slicing, so that the cake will slice neatly.
Recipe by adventureswithsugar.com


No Comments