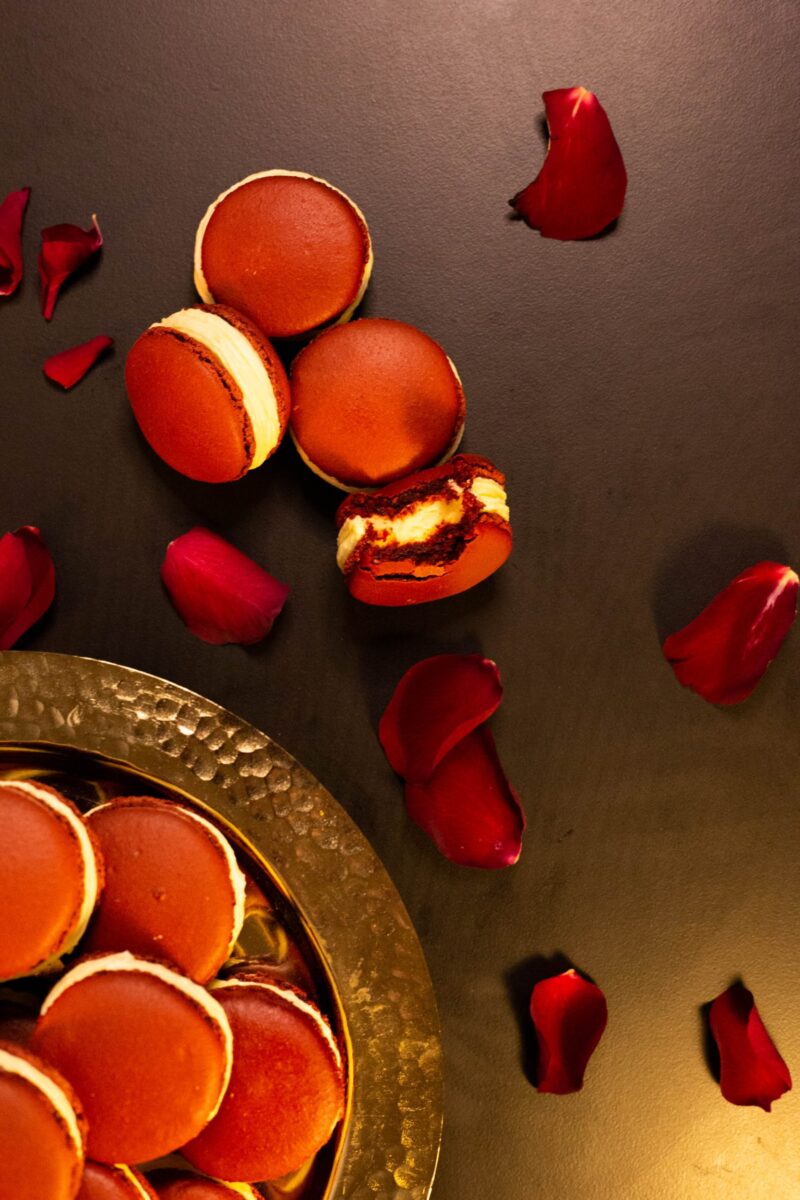
I love filling macarons with actual discs of baked cheesecake and here I have opted to combine the decadence of red velvet with the creaminess of white chocolate

I developed this recipe especially for Valentine’s Day, which is just around the corner. But lets be honest – do we ever need an excuse to eat macarons. These would make the perfect Mother’s Day treat, an anniversary treat or just an afternoon tea indulgence.
Macarons are a nemesis to many, but if you understand the basics, you will be fine. My macaron recipe below is very detailed to give you maximum chance of nailing these heavenly bite-sized snacks. What’s nice about this recipe is also that it is gluten-free 🙂

Nothing says romance better than red velvet – the colour itself is representative of the colour of love. The hint of cocoa alludes to something a bit more decadent and sensual, and a deliciously smooth and the slightly tangy cream cheese frosting – how could one not fall in love?! Hence the idea of creating a red velvet macaron.
I love the hint of chocolate from the cocoa powder, which makes the shell taste slightly chocolaty. I am a bit obsessed with filling macarons with discs of baked cheesecake and I thought that the chocolaty flavour in the shell would be well complimented by a smooth, creamy white chocolate cheesecake filling. Red Velvet just isn’t the same without cream cheese icing, however. So I decided to cut the cheesecake discs smaller than the macaron shells and pipe a border of cream cheese frosting around the cheesecake.

These macarons have a few more components that the average macaron, but let me tell you, the effort is worth it when you take the first bite!!! A crunch exterior shell (yet soft on the inside), is met with a creamy cheesecake filling and a slightly tangy cream cheese frosting. Once you have mastered the art of macaron making, you will want to make this over and over again!
If you make this recipe, please share it with me by tagging me on Instagram @adventureswithsugar or on Facebook at Adventures with Sugar.
WHAT SHOULD I KNOW ABOUT MAKING THESE MACARONS?
- Macarons can either be made using the French Meringue Method, or Italian Meringue Method. I have found that the Italian Meringue is far more reliable and produces consistently better results. You will require a candy themometer for this, however.
- In addition to a themometer, you will require a scale as precision is key with weighing out the ingredient to the gram, no eyeballing here!
- Tip 1 (*): You want to make sure your almonds are super fine, you do not want to push any unsieved almonds through your sieve. As extra insurance, I run it through a food processor too!
- Tip 2 (**): Do not stir your sugar syrup, swirl it around instead. You do not want to risk sugar crystallization.
- Tip 3 (***): Whipping the meringue is one of the most important steps. If you underwhip the meringue, your macarons will not have feet. If you overwhip the meringue, the tops will crack. You want to whip it such that the peak of the meringue stands firm, but then bends a little.
- Tip 4 (****): This is probably the other most important step – the macronage. You want the batter to fall off the spatula in a continuous ribbon, without breaking. If your batter falls in V-like chunks off the spatula,the batter is undermixed. If your batter runs straight off the spatula and disappears into the batter, your batter is overmixed.
Tip: Make the cheesecake filling first, as it has to set in the fridge and then make the macarons.
WHITE CHOCOLATE CHEESECAKE FILLING (COMPONENT 1)
- 500g full fat cream cheese, at room temperature
- 100g caster sugar
- 1 teaspoon vanilla essence
- 120g sour cream, room temperature
- 2 teaspoons corn flour
- 170g good quality white chocolate, melted and cooled slightly
- 3 large eggs, room temperature
METHOD
- Line the base of a 23cm by 33cm sheet pan with baking paper, with a slight overhang off the length, to make the cheesecake easy to lift out.
- Preheat the oven to 160 degrees Celcius,
- Beat the cream cheese until smooth and creamy, about two minutes.
- Add in the caster sugar and beat for a further minute.
- Add in the vanilla essence, sour cream and corn flour and continue to beat for another minute.
- Add in the white chocolate and beat until just incorporated.
- Finally, beat in the eggs one at a time, beating the next one only after the first has been incorporated. Do not beat this for longer than required as we do not want the cheesecake to puff up too much.
- Bake for about 30 – 35 minutes, or until the cheesecake is set firm.
- Remove from the oven and let cool to room temperature, before placing in the fridge to cool for at least 8 hours.
CREAM CHEESE FROSTING (COMPONENT 2)
- 175g full fat cream cheese, chilled
- 110g icing sugar
- 75g salted butter, room temperature
METHOD
- Beat the cream cheese, until well whipped.
- Beat the butter and the icing sugar until a soft buttercream forms.
- Fold the cream cheese into the buttercream to ensure the icing is not too loose.
- Place into a piping bag with a round nozzle, or open star tip nozzle.
- Refrigerate. Remove from fridge about 15 minutes before use.
MACARON SHELLS (COMPONENT 3)
- 200g icing sugar
- 200g fine almond flour
- 20g cocoa powder
- 150g egg whites (from approximately 5 large eggs), which will be split into two batches
- 190g caster sugar
- 60ml water
- a good squeeze of red gel food colouring
METHOD
- Microwave the egg whites for 10 seconds to age them, set aside to come to room temperature. (Some recipes call for ageing the egg white for a few days, but I never do this and the recipe turns out fine).
- Line 3 baking trays with baking paper. If you want, you can trace out circles of your cutter which would be used to cut out the cheesecake discs, so that the discs and the shells are the same size. Make sure to turn the greaseproof paper over, to avoid the ink from the traces transferring to the macarons.
- Sift the almond flour, icing sugar and cocoa powder into a bowl, then pulse in a food processor for about 15 pulses to make sure it is super fine. (The food processor is an optional step to ensure that there are no large lumps of almonds, just as insurance to securing smooth tops).*
- Divide the egg whites into two portions, of 75g each.
- Add 75g of egg whites into the bowl. Thoroughly mix together with the almond flour and icing sugar to form a paste. Feel free to be aggressive with your mixing. It may initially feel like the liquid is too little for the dry ingredients, but it will all come together in the end. When combined, set aside.
- Place the other 75g of egg whites in the mixing bowl of your stand mixer, with the whisk attachment fitted.
- Place the caster sugar and water in a saucepan and heat on medium-high heat. Let the sugar dissolve into the water. Do not stir the mixture, as it may cause crystallisation. If you must, give the pan a gentle swirl to mixt the water and sugar together. The aim is to get the syrup to 116 degrees celcius.**
- When the mixture reaches 110 degrees Celcius, start to whip the egg whites. You want to whip them until they are foamy and beginning to form very soft peaks.
- Once your syrup has come up to 116 degrees celcius, take it off the heat and slowly begin streaming it into the foamy egg whites. You want to gently pour the syrup down the sides of the bowl to avoid any clumps of syrup collecting at the bottom.
- If you touch the sides of the bowl, once all the syrup is in, it will still be quite hot. You want to continue to whip the mixture for a good 2 – 4 minutes until the side of the bowl begin too cool and that when you lift you whisk out of the meringue, it will have a medium peak, with a slight bend. – what is referred to as the ‘bird beak’ peak. If the meringue gets too stiff and forms very firm peaks, your macarons would most likely crack in the oven.***
- Fold one third of the meringue into your flour mixture, adding in the food colouring now. You do not have to be gentle here, the aim is to use this first batch of meringue to loosen the mixture.
- Then begin to gently fold the rest of the meringue into the batter. You can adjust the colour at this point too. The mixture is ready when it falls in a continuous ribbon off your spatula, and lingers on the batter for about 5 seconds, before disappearing into the batter.****
- Spoon the mixture into a piping bag, fitted with a round nozzle. Holding the piping bag straight up (not at an angle) pipe the macarons onto the tray, being guided by the template. Do not pipe it to the edge of the traced template, as the macarons will spread once they settle.
- Once the tray is full, give it a few gentle taps to release any air bubbles and then set aside for the macarons to form a skin. This could take 30 minutes to 1 hour, depending on your climate. You know the macaron is ready when you touch it lightly, the top will feel smooth and the batter will not stick to your finger.
- When ready to bake, place your oven rack on the second lowest shelf and set your oven to 150 degrees Celcius.
- Bake each tray for around 15 – 20 minutes, be very careful not to overbake as the shells will be too dry and hard. I recommend checking them at 15 minutes. If you try and lift a shell off the tray and the top of the shell comes apart easily, with the foot still stuck to the tray, the macarons have not dried out. If it feels difficult to lift the macaron off the tray, but it is not coming apart as described earlier, then it is likely done. Remove it from the oven and let it cool on the tray, as this will help dry it out further.
FOR ASSEMBLY
- Pair up similar size macaron shells.
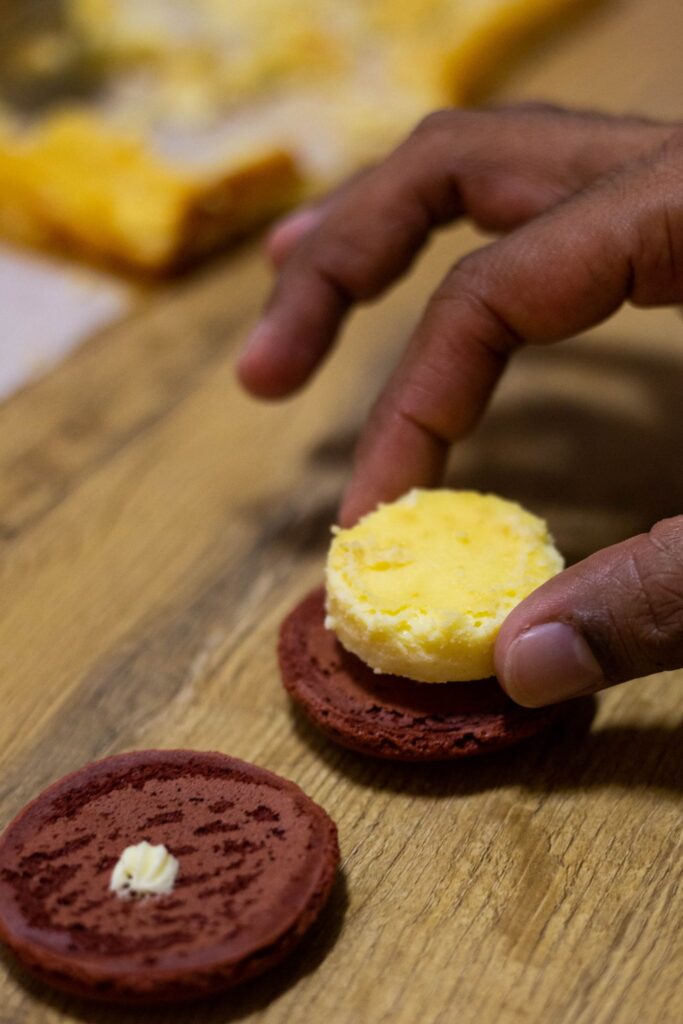
- I usually make my macarons about 5cm in diameter. Bearing the size of your macaron in mind, cut out little cheesecake discs about 1cm smaller. In my case, this would be 4cm.
- Use a bit of cream cheese frosting to glue the cheesecake to a macaron shell.
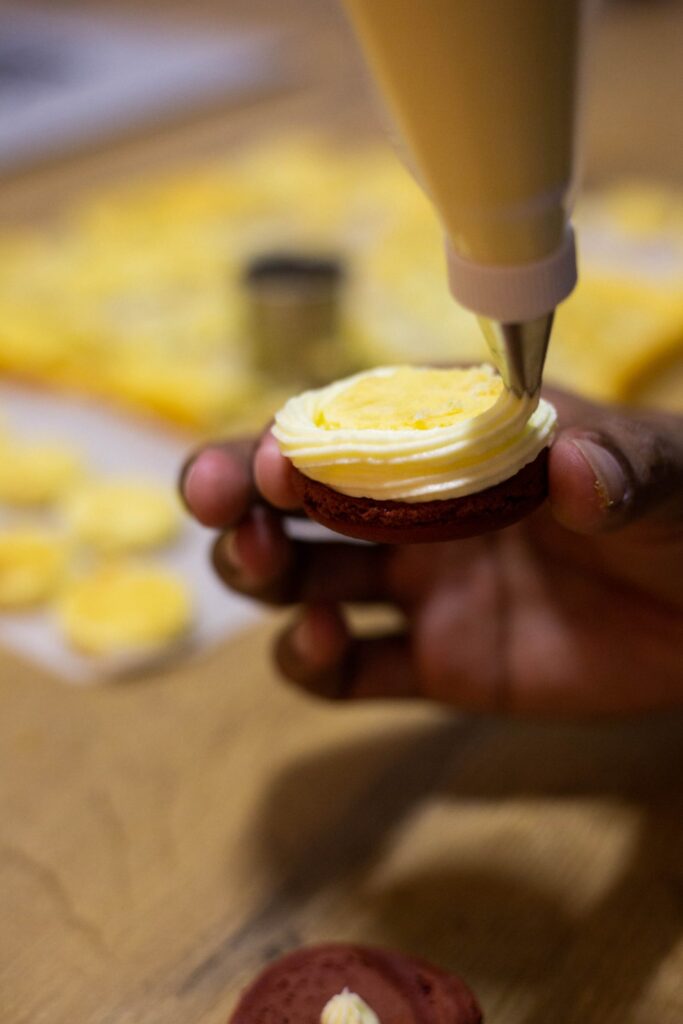
- Then pipe a double swirl around the edge of the cheesecake, such that it sits on the macaron shell and closes the gap between the shell and the cheesecake.
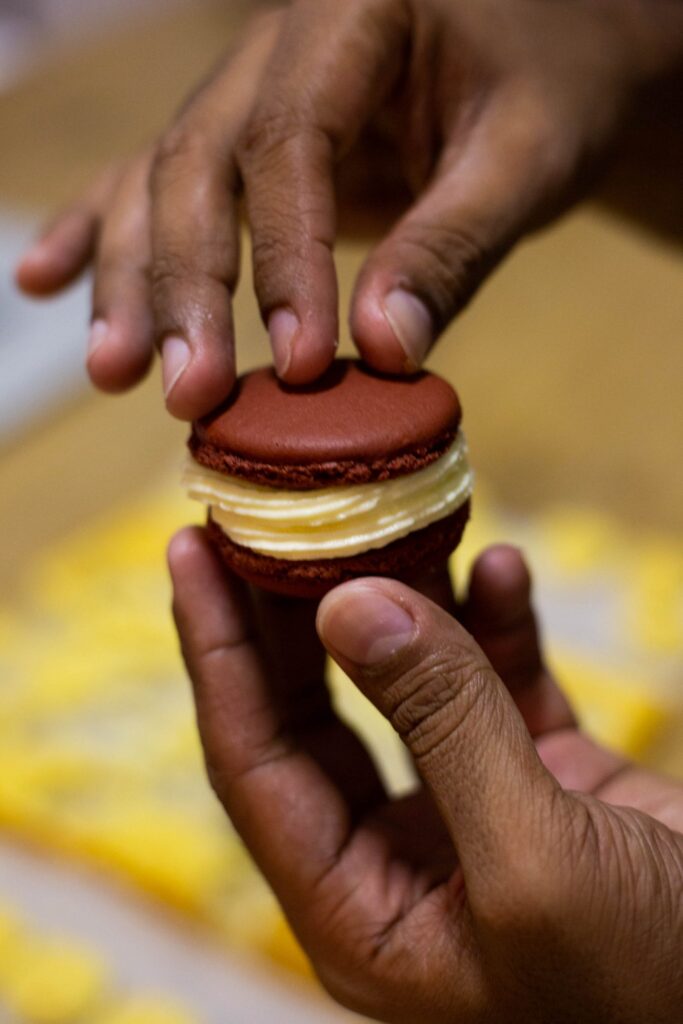
- Sandwich with a second macaron shell.
- The macarons “mature” fairly fast in this manner, so will keep in a fridge overnight, but are best eaten soon after.
- They will last for about three days, but the shell will start to soften progressively more.




No Comments