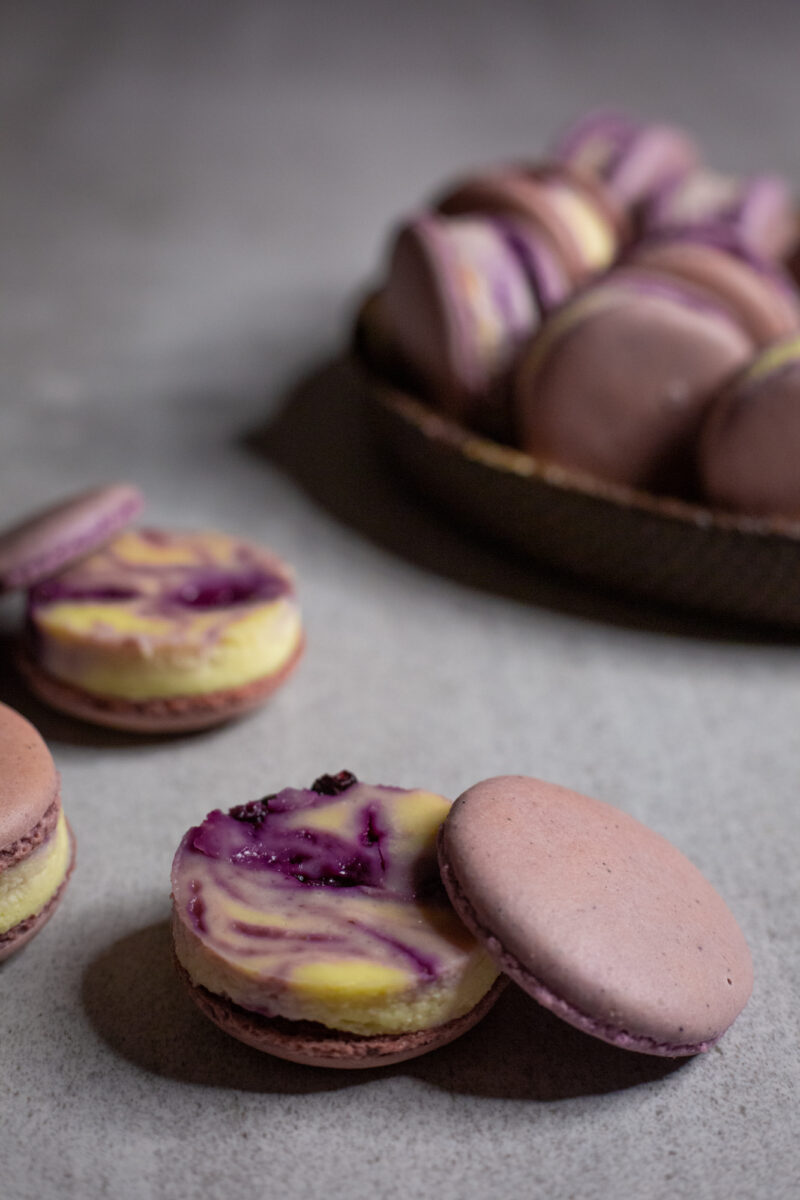
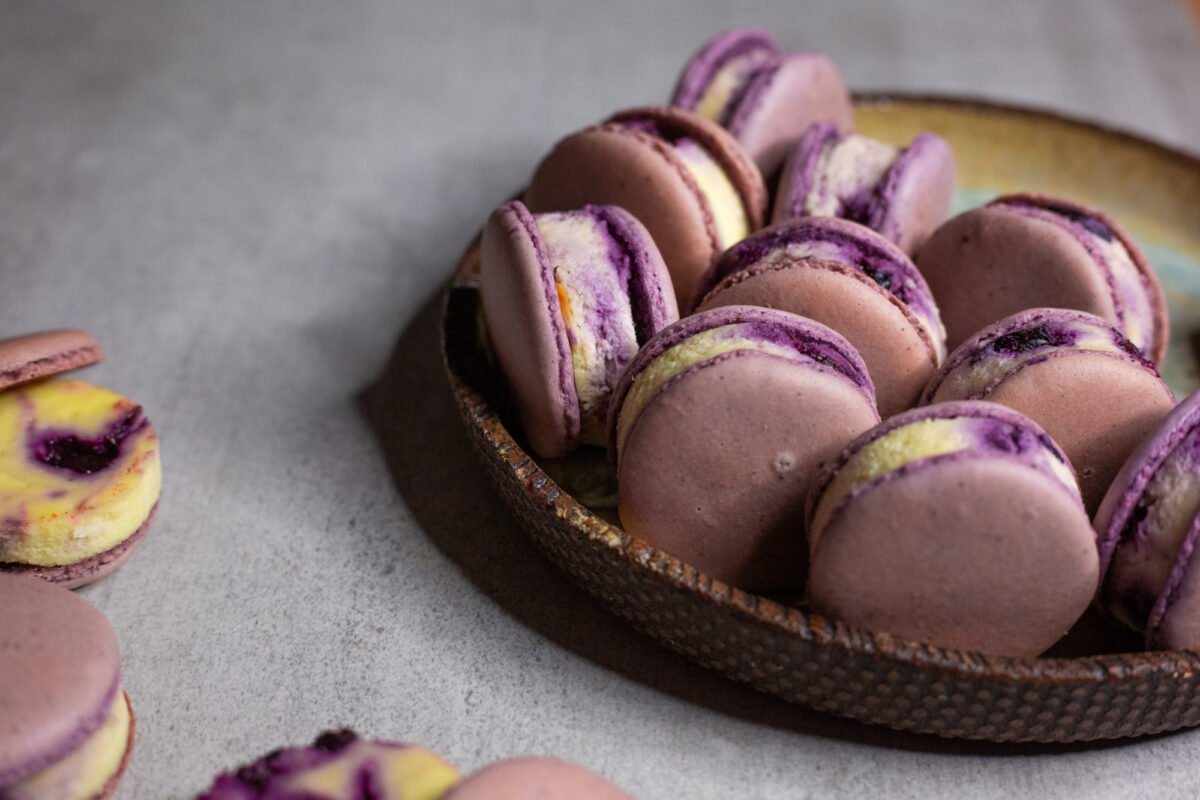
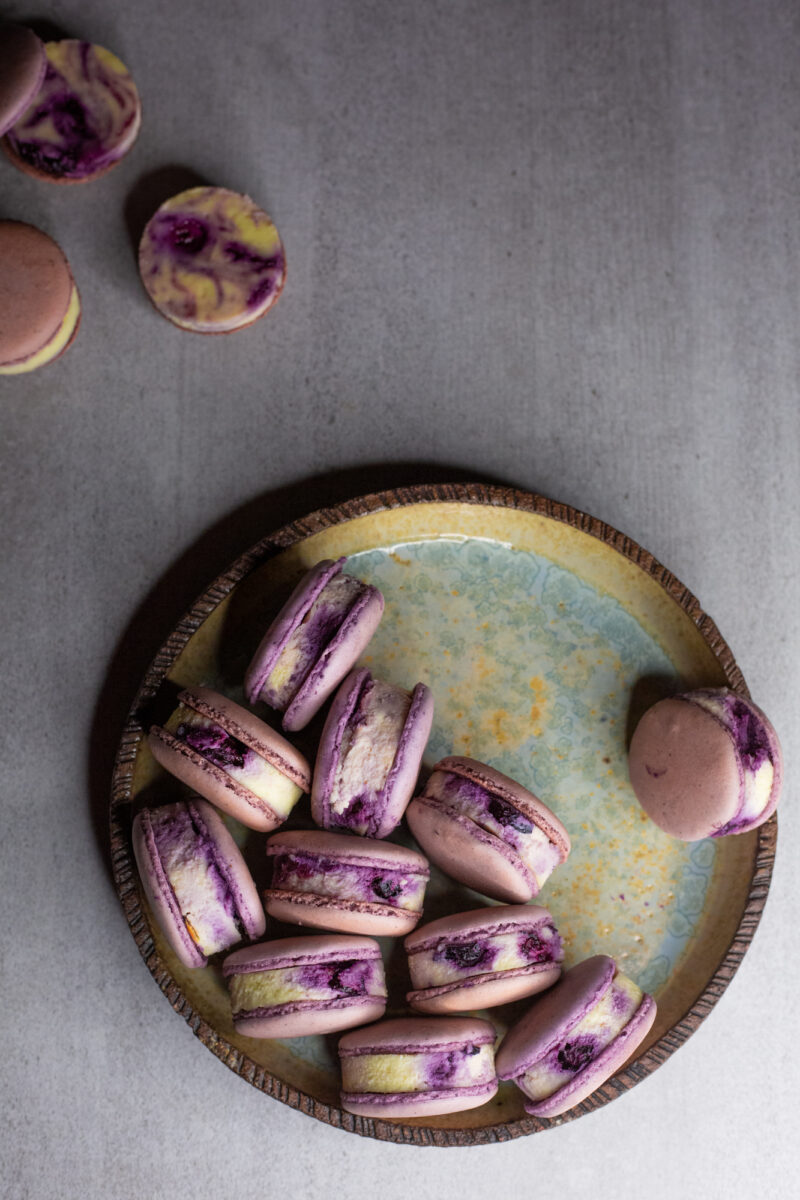
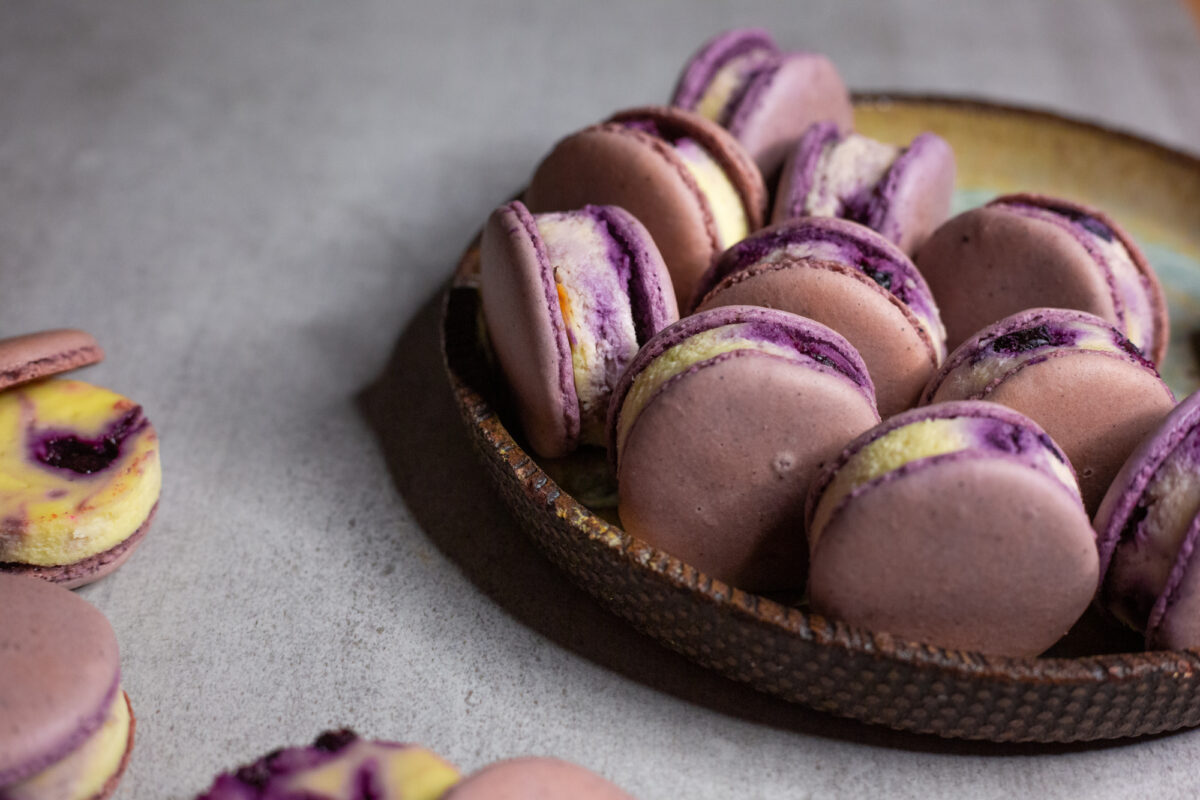
An inventive twist on the classic macaron. The soft creamy cheesecake and tart blueberry balances the chewy and sweet macaron shells to create something truly special.

Happy New Year everyone! The past year has been extremely challenging for all, and I am looking forward to a brighter new year. Whilst I do not make definitive resolutions, I do have goals which I want to work on for 2021. One of them is to challenge myself to bake new creations which I have not done so before – hence these blueberry cheesecake macarons.
I first saw the idea for blueberry cheesecake macarons, years ago on Tastemade. However, it was whilst flipping through Astrid Field’s wonderful book, High Tea at Home, that I was again reminded of them. This is where the inspiration (and the base of this recipe) came from. The original recipe can be found here.

I have modified recipe over time, through testing it several times, to achieve the texture of the macaron which I want, and choosing to use a baked cheesecake filling instead! The silkiness of the cheesecake pairs so well with the crisp shell. It also softens the shell a bit, to enhance the chewiness of the macaron.
I know that macarons are intimidating for lots of people. I recall them trying a recipe out year ago and it failed spectacularly – never again, I sweared! In the spirit of wanting to challenge myself in 2021, you will be seeing a lot more macaron posts from me! I must admit, most people fail at macarons the first time, so don’t be disheartened if you don’t nail it the first time. To ensure you have a maximum chance of success, I have included a lot of detail in the recipe and some key trouble shooting points.
If you make this recipe, please share it with me by tagging me on Instagram @adventureswithsugar or on Facebook at Adventures with Sugar.

WHAT SHOULD I KNOW ABOUT MAKING THESE MACARONS?
- Macarons can either be made using the French Meringue Method, or Italian Meringue Method. I have found that the Italian Meringue is far more reliable and produces consistently better results. You will require a candy themometer for this, however.
- In addition to a themometer, you will require a scale as precision is key with weighing out the ingredient to the gram, no eyeballing here!
- Tip 1 (*): You want to make sure your almonds are super fine, you do not want to push any unsieved almonds through your sieve. As extra insurance, I run it through a food processor too!
- Tip 2 (**): Do not stir your sugar syrup, swirl it around instead. You do not want to risk sugar crystallization.
- Tip 3 (***): Whipping the meringue is one of the most important steps. If you underwhip the meringue, your macarons will not have feet. If you overwhip the meringue, the tops will crack. You want to whip it such that the peak of the meringue stands firm, but then bends a little.
- Tip 4 (****): This is probably the other most important step – the macronage. You want the batter to fall off the spatula in a continuous ribbon, without breaking. If your batter falls in V-like chunks off the spatula,the batter is undermixed. If your batter runs straight off the spatula and disappears into the batter, your batter is overmixed.
Tip: Make the blueberry cheesecake filling first, as it has to set in the fridge and then make the macarons.

BLUEBERRY CHEESECAKE FILLING
For the blueberry compote
- 150g fresh blueberries
- 50g caster sugar
- 2 tablespoons lemon juice
For the cheesecake
- 500g cream cheese, room temperature
- 250g sour cream
- 200g caster sugar
- 3 Tablespoons flour
- 2 Tablespoons lemon juice
- 1 teaspoon vanilla extract
- 3 large eggs
METHOD
- Begin by making the blueberry compote. Place the blueberries, caster sugar and lemon juice on medium heat, until the sugar has dissolved, the blueberries start to soften and the colour begins to run and all the ingredients come together. Place in the freezer to cool whilst you make the cheesecake.
- Preheat the oven to 160 degrees celcius. Cut a piece of baking paper equal to the length of the tin, but double the width. This will allow you to line the base of the tin, with some overhang on each side of the tin, so that the cheesecake is easy to lift out. Line the tin and set aside.
- With an electric mixer, beat the cream cheese until smooth and well whipped.
- Add in the sugar and whip until just combined. Follow this with the sour cream, flour, lemon juice and vanilla extract.
- Lastly beat in the eggs until just incorporated.
- Pour the (liquid) cheesecake batter into the lined tin. Then dollop spoons of blueberry compote randomly into the batter, and swirl with a knife to create ripples in the batter.
- Bake on the middle shelf for about 45 – 55 minutes. I prefer to bake this cheesecake until the entire cake is fairly firmly set, with only a slight wobble in the middle. If the cheesecake is browning too much, cover it with some foil.
- Once the cheesecake is out of the oven. Let it come to room temperature and then place it in the fridge to chill for at least 8 hours.
- When ready to assemble, use a round cutter to cut out discs which should be the same size as the macaron shells. Sandwich two macaron shells with the cheesecake filling.
MACARON SHELLS
- 200g icing sugar
- 200g fine almond flour
- 140g egg whites (from approximately 5 large eggs), which will be split into two batches
- 180g caster sugar
- 57ml water
- a few drops of blueberry essence
- purple gel food colouring
METHOD
- Microwave the egg whites for 20 seconds to age them, set aside to come to room temperature. (Some recipes call for ageing the egg white for a few days, but I never do this and the recipe turns out fine).
- Line 3 baking trays with baking paper. If you want, you can trace out circles of your cutter which would be used to cut out the cheesecake discs, so that the discs and the shells are the same size. Make sure to turn the greaseproof paper over, to avoid the ink from the traces transferring to the macarons.
- Sift the almond flour and icing sugar into a bowl, then pulse in a food processor for about 15 pulses to make sure it is super fine. (The food processor is an optional step to ensure that there are no large lumps of almonds, just as insurance to securing smooth tops).*
- Divide the egg whites into two portions, of 70g each.
- Add 70g of egg whites into the bowl. Thoroughly mix together with the almond flour and icing sugar to form a paste. Feel free to be aggressive with your mixing. It may initially feel like the liquid is too little for the dry ingredients, but it will all come together in the end. When combined, set aside.
- Place the other 70g of egg whites in the mixing bowl of your stand mixer, with the whisk attachment fitted.
- Place the caster sugar and water in a saucepan and heat on medium-high heat. Let the sugar dissolve into the water. Do not stir the mixture, as it may cause crystallisation. If you must, give the pan a gentle swirl to mix the water and sugar together. The aim is to get the syrup to 116 degrees celcius.**
- When the mixture reaches 100 degrees Celcius, start to whip the egg whites. You want to whip them until they are foamy and beginning to form very soft peaks.
- Once your syrup has come up to 116 degrees celcius, take it off the heat and slowly begin streaming it into the foamy egg whites. You want to gently pour the syrup down the sides of the bowl to avoid any clumps of syrup collecting at the bottom.
- If you touch the sides of the bowl, once all the syrup is in, it will still be quite hot. You want to continue to whip the mixture for a good 2 – 4 minutes until the side of the bowl begin too cool and that when you lift you whisk out of the meringue, it will have a medium peak, with a slight bend. – what is referred to as the ‘bird beak’ peak.***
- Fold one third of the meringue into your flour mixture, adding in the food colouring and blueberry essence now. You do not have to be gentle here, the aim is to use this first batch of meringue to loosen the mixture.
- Then begin to gently fold the rest of the meringue into the batter. You can adjust the colour at this point too. The mixture is ready when it falls in a continuous ribbon off your spatula, and lingers on the batter for about 5 seconds, before disappearing into the batter.****
- Spoon the mixture into a piping bag, fitted with a round nozzle. Holding the piping bag straight up (not at an angle) pipe the macarons onto the tray, being guided by the template. Do not pipe it to the edge of the traced template, as the macarons will spread once they settle.
- Once the tray is full, give it a few gentle taps to release any air bubbles and then set aside for the macarons to form a skin. This could take 30 minutes to 1 hour, depending on your climate. You know the macaron is ready when you touch it lightly, the top will feel smooth and the batter will not stick to your finger.
- When ready to bake, place your oven rack on the second lowest shelf and set your oven to 150 degrees Celcius.
- Bake each tray for around 14 – 17 minutes, be very careful not to overbake as the shells will be too dry and hard. I recommend checking them at 14 minutes. If you try and lift a shell off the tray and the top of the shell comes apart easily, with the foot still stuck to the tray, the macarons have not dried out. If it feels difficult to lift the macaron off the tray, but it is not coming apart as described earlier, then it is likely done. Remove it from the oven and let it cool on the tray, as this will help dry it out further.
- Once cooled, sandwich the macarons with the cheesecake filling and leave to “mature” in the fridge overnight.
- Take it out of the fridge about 30 minutes before serving.
- Once, filled the macarons will keep for a day before the shell goes too soft. But the shells can be made in advance and refrigerated, as can the cheesecake, and assembled just before serving.
- If the shells are still sticking to the tray, return the shells to a warm, around 130 degrees celcius (but turned off) oven, with the door slightly ajar to dry further.

Recipe by adventureswithsugar.com


2 Comments
Lemon and Blueberry Cake – Adventures with Sugar
11 March, 2023 at 9:35 pm[…] Blueberry Cheesecake Macarons […]
Chocolate Macarons – Adventures with Sugar
29 April, 2023 at 8:38 pm[…] recipe is based off my Blueberry Cheesecake Macaron Recipe, where I share lots of tips for troubleshooting any macaron challenges you may have. Don’t be […]